A few giveaways:
1. Corrie at Retro Mummy is giving away fat quarter fabrics. It's a generous one and 3 people will be chosen.
2. Tea Rose Home is holding a Thanksgiving giveaway.
There are some good prizes. Pop over here if you're interested!
Good luck, everybody!


2010年10月27日 星期三
Pinwheel quilt finished
Ta-da. Here is my baby quilt which took me 10 months to complete.
 My dad was holding it for me this morning. I love this picture. Can you see the pinwheels turning? Sit further back in your chair and I'm sure you will.


Here is the back--shells and stars.

I thought there should be a sky, some sunshine and cloud above the pinwheels, so I appliqued some on. I liked it how the quilting made the sky looked filled with cloud.


About the width of borders, I sat brooding about it for an afternoon, net-surfing for ideas. Finally I decided to cut the bias strip 2.5" wide, which allowed me just enough leeway for the stich in the ditch finish. The finished width on the front is 1/4".

I also spent some time doing the square root calculating to determine how much fabric was required for making the strip. It turned out that a mere 24" square of fabric produced the length I needed (about 234"). I'd have to write a formula for this on excel at my leisure. Arithmetic made me dizzy.

See those little clips? They were so handy during binding process. No pins, no fazing pinpricks! When I came to the corners, I used double-sided tape to secure the mitre. They made my life easier.
By the way, I followed the tube method to cut binding strips. Check out the super clear video tutorial from the link. It was fun and saved me the hazard of joining all those ends. But you want to be extra careful when cutting the tube not to catch the fabric under the layer you're cutting.
That's what I have to share. I find it helpful setting deadlines for my quilts, otherwise I have no idea when it can be done. I'm off to start piecing another quilt which is due the end of November.
2010年10月24日 星期日
I am Free Motion Quilting!!

I finished piecing and basting my quilt, and the quilting is in full swing. When I was basting, at first I put the quilt on a mattress but found it didn't work as it got wrinkled. Then it dawned on me why other quilters laid their quilts on the kitchen floor when basting: because other areas are carpeted. From this I learned that only flat and solid floor worked. Hours of basting almost finished me and I decided to use an adhesive spray for my subsequent quilts.
My sewing table was quite small. But I made the most out of it by adding a few things to reduce the dragging force of gravity.

Books! Literature books came in handy at this time. They were just the right width. Don't I love literature! Thanks, Charlette Bronte and all!
I also used my ironing board, which is the same height as my table, for suppor on the left side. With them, I was all set.
 About the quilting pattern, I wanted to try circles to create the turning effect of pinwheels. But the result was funny so I switched to meandering right away.
 Meandering proved to be much better and I stuck to it. I'm almost half way through. Free motion quilting was a lot quicker than I had thought. I could literally "quilt in a day", if I wasn't disturbed.
Off to continue quilting right now. It's my first time free motion quilting a big quilt. Hopefully it turns out alright.
2010年10月23日 星期六
Giveaway News from other sites
Micki on Irish Muses is holding a Accuquilt Go giveaway.
She's so generous that each person can have 4 entries at most.
Go and check this out.
Bear Bits is also giving away a very cute bear:
http://bearbits.blogspot.com/2010/10/my-fall-giveaway.html#comment-form
How cool is that!
She's so generous that each person can have 4 entries at most.
Go and check this out.
Bear Bits is also giving away a very cute bear:
http://bearbits.blogspot.com/2010/10/my-fall-giveaway.html#comment-form
How cool is that!
2010年9月11日 星期六
Tutorial: zipper pocket
When making handbags, it's always nice to have a zipper pocket for privacy.
I managed to take photos while I made one. I might not have done it perfectly. But the following is virtually the steps to making a zipper pocket.
1. Prepare the materials
You'll need your lining fabric, pocket fabric, and a zipper.

Cut the lining fabric according to your bag pattern.
Choose a desired length of zipper based on the size of your bag and your personal preference. Here I used a 6" zipper.
As for the pocket fabric, it is 8*16". The width should be 2" longer than the length of your zipper. You'll also have to decide the length of your pocket according to the size of your bag. The length of your pocket fabric is (length of pocket+1")*2. If my pocket should be 7", then the length of the pocket fabric is 16".
You might want to iron on some interfacing onto the back of both pieces of fabric.
2. Draw a rectangle on the wrong side of your pocket fabric. The rectangle should be 1" away from the top and two sides.

Ignore the numbers in this picture. The rectangle is always 3/8" wide. Add 3/16" to your zipper for the length.
Draw a dotted line along the middle of the rectangle. At 3/8" from each end, mark a diagonal line to the corner to make a "Y" look. Refer to the next picture for this detail.
3. Find out the center of lining fabric and pocket fabric, lay them right sides together, the pocket fabric on top of the lining. Note that the top of pocket fabric is 1" lower from that of the lining fabric.

4. Sew around the rectangle.

5. Cut along the dotted line. You can lay your first snip by folding the fabric in half as shown below.

 Keep cutting until you reach the "Y".
 Cut the diagonal line, go as deep as you can. Take care not to cut the thread.


 After you turn the whole pocket fabric to the back, press the fabric nice and neat with your iron. There shouldn't be any puckers as in the photo. When I was sewing the rectangle, I went a bit askew at the corners.
 Start from the tail of the zipper. At this point, the zipper is closed.
 As you sew towards the head, pull the zipper to the back so the head won't be in the way of your needle. Be very careful with this because zippers can easily break your needle.


I managed to take photos while I made one. I might not have done it perfectly. But the following is virtually the steps to making a zipper pocket.
1. Prepare the materials
You'll need your lining fabric, pocket fabric, and a zipper.

Cut the lining fabric according to your bag pattern.
Choose a desired length of zipper based on the size of your bag and your personal preference. Here I used a 6" zipper.
As for the pocket fabric, it is 8*16". The width should be 2" longer than the length of your zipper. You'll also have to decide the length of your pocket according to the size of your bag. The length of your pocket fabric is (length of pocket+1")*2. If my pocket should be 7", then the length of the pocket fabric is 16".
You might want to iron on some interfacing onto the back of both pieces of fabric.
2. Draw a rectangle on the wrong side of your pocket fabric. The rectangle should be 1" away from the top and two sides.

Ignore the numbers in this picture. The rectangle is always 3/8" wide. Add 3/16" to your zipper for the length.
Draw a dotted line along the middle of the rectangle. At 3/8" from each end, mark a diagonal line to the corner to make a "Y" look. Refer to the next picture for this detail.
3. Find out the center of lining fabric and pocket fabric, lay them right sides together, the pocket fabric on top of the lining. Note that the top of pocket fabric is 1" lower from that of the lining fabric.

4. Sew around the rectangle.

5. Cut along the dotted line. You can lay your first snip by folding the fabric in half as shown below.
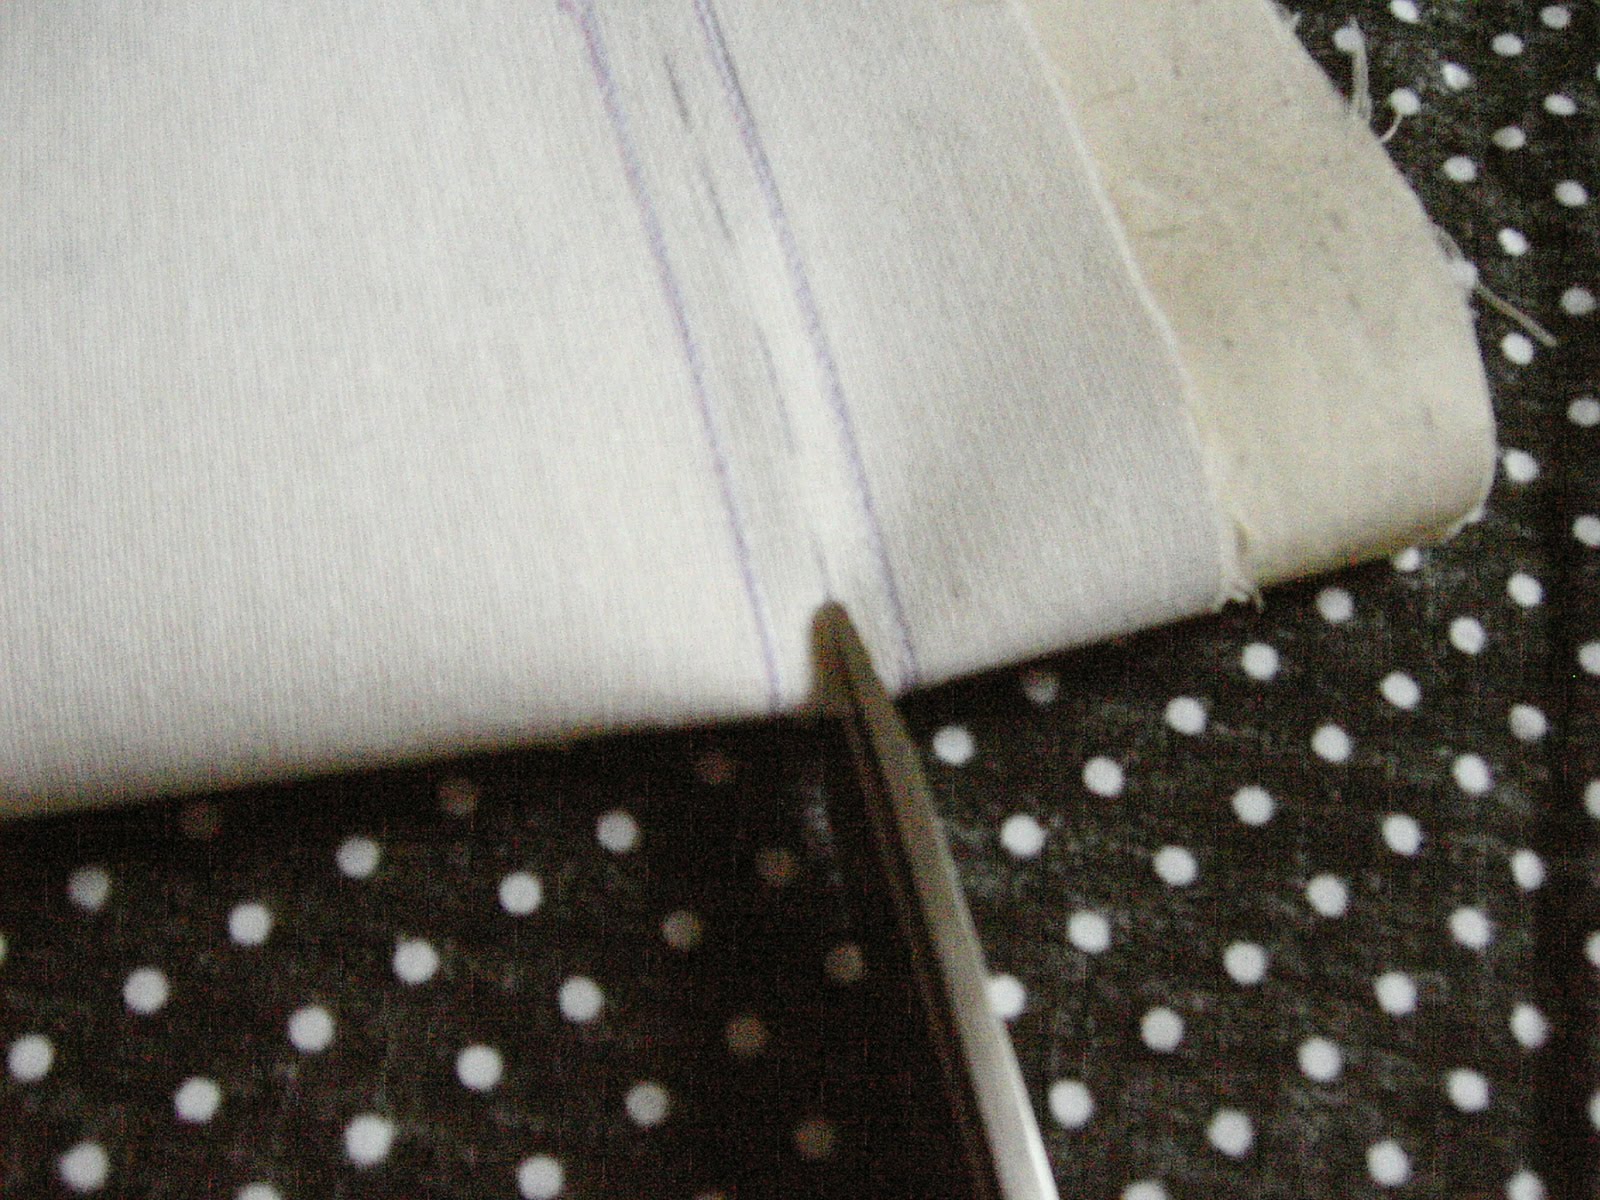


You'll end up with two dogs ears at both ends of the rectangle.

6. Turn the pocket fabric to the back of the lining through the hole.

 After you turn the whole pocket fabric to the back, press the fabric nice and neat with your iron. There shouldn't be any puckers as in the photo. When I was sewing the rectangle, I went a bit askew at the corners.
 7. Insert and baste the zipper to the rectangular opening.

8. Sew around the zipper using a zipper foot.
 Start from the tail of the zipper. At this point, the zipper is closed.
 As you sew towards the head, pull the zipper to the back so the head won't be in the way of your needle. Be very careful with this because zippers can easily break your needle.
Keep sewing and you're almost done!
9. Turn to the back. Fold the pocket fabric in half lengthwise to form the pocket. Pin and sew around the 3 sides. Make sure you don't catch the lining fabric as you sew. That is, you only sew 2 layers of fabric instead of all 3.

10. Voila! A zipper pocket finished. Laugh, clap and celebrate!

訂閱:
文章 (Atom)